Film a whiteboard so the writing stays readable
Check lettering, glare, camera position and your movement before filming a physical whiteboard. Includes a proposed board test and worked example.
 EasyLines team7 min read
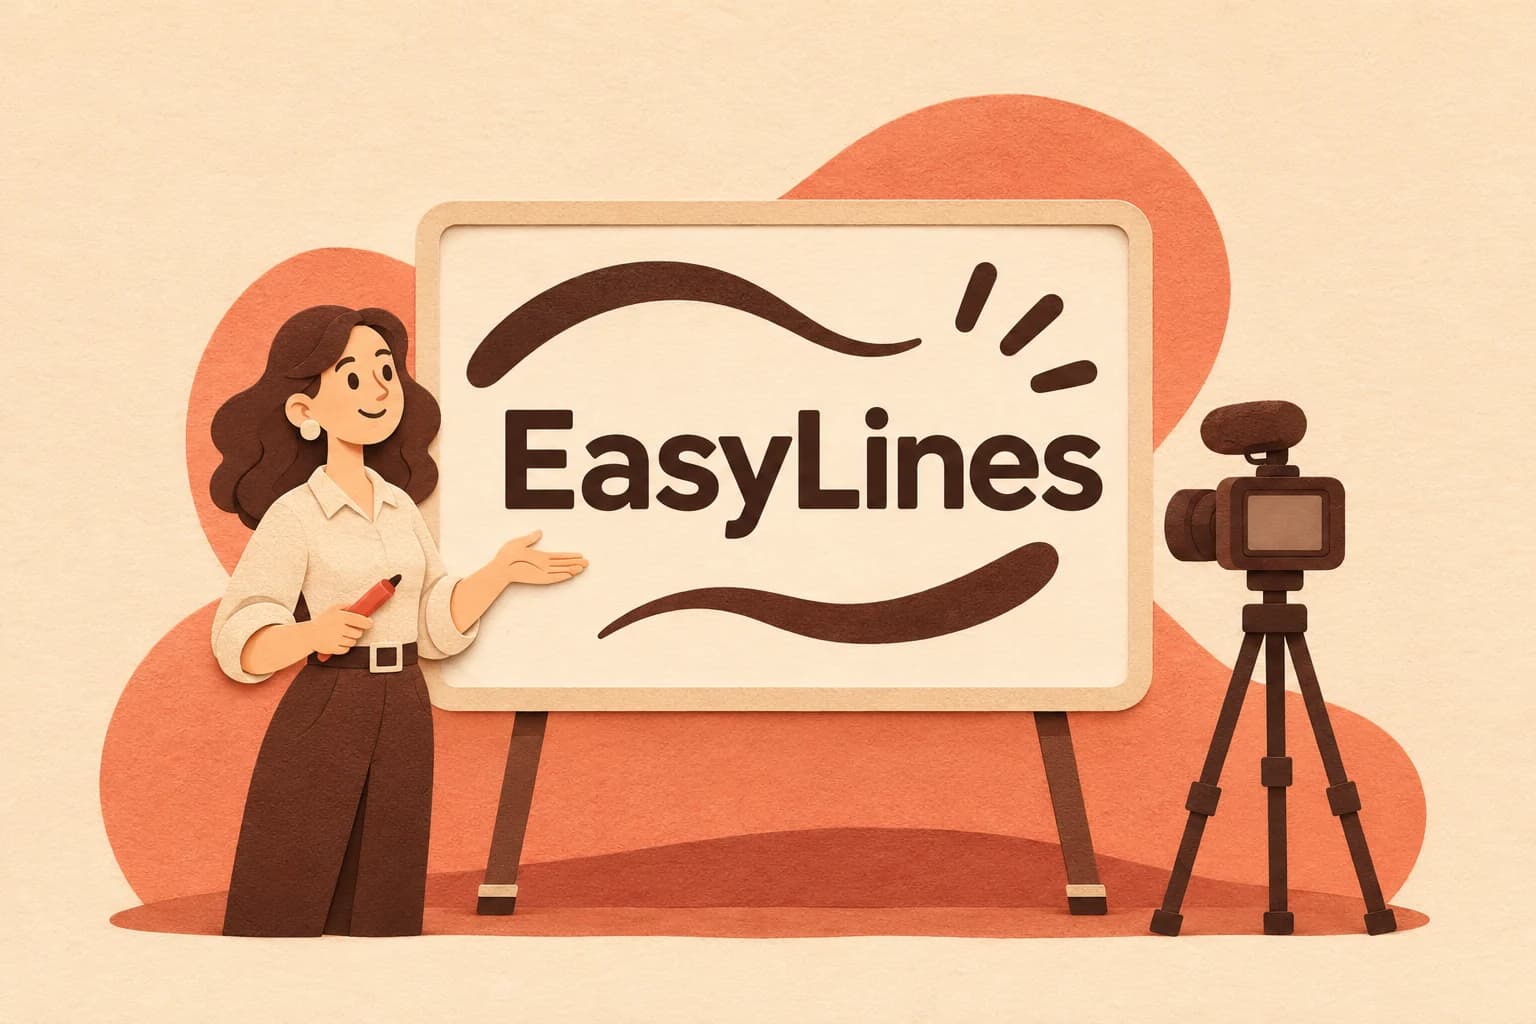
AI-generated editorial illustration.
On this page 8 sections
- 1. Choose the board area the viewer needs
- 2. Test the smallest label in several positions
- 3. Separate small writing, softness and glare
- 4. Plan where you stand after each addition
- 5. Work through a hypothetical three-box diagram
- 6. Check each board state before erasing
- 7. Inspect the exported explanation before packing away
- 8. Frequently asked questions
Film a physical whiteboard by checking its smallest important writing in the saved video, then checking glare and the places where your body covers the explanation. Use the viewing size your audience will actually receive. A board that is readable while you stand beside it can become a collection of faint marks in a phone-sized player. Set the writing area before recording the full lesson.
Choose the board area the viewer needs
Sketch the finished board on paper first. Identify the labels, lines and arrows that carry the explanation, then reserve a physical region for them. You might need only the central half of a large board. Filling every available corner can force the camera farther away and leave the important labels smaller than they need to be. Keep a separate space for temporary notes that will not enter the recording.
Decide whether the final video shows only the board or also shows you beside it. If your face belongs in the opening but not during detailed writing, plan those as separate views. Do not require one wide shot to show a full person and a dense diagram unless the saved sample demonstrates that both remain useful. This is a proposed planning method, with no universal board size or camera distance.
Test the smallest label in several positions
Write the same short practice label at the center and near the four corners of the chosen writing region. Use the marker and lettering style intended for the real explanation. Include a small character distinction that matters, such as a lowercase letter beside a numeral, rather than testing only a large title. Put a short arrow beside each label so you can inspect line visibility too.
Save a sample and view it at the size of the intended player, without enlarging the picture to rescue it. Can you distinguish the characters at every required position? If the center works but a corner does not, record the position of the failure. Try larger writing or a smaller active board region before assuming a higher recording resolution alone will solve the problem. Repeat the same labels after the change so the comparison remains meaningful.
Separate small writing, softness and glare
Describe the unreadable area precisely. Tiny but sharply edged letters call for a different adjustment from large blurred letters. A bright patch that removes the marks in one region suggests a reflection problem worth investigating. Logitech’s whiteboard discussion identifies camera angle and distance, glare, and obstruction by the writer as separate visibility difficulties. That observation does not require buying its advertised equipment.
For a suspected reflection, keep a reference sample and switch off one movable light, or compare a different secure camera/board arrangement. Check that the writing remains illuminated and the whole board region remains readable. A dramatic sideways view may remove a reflection while making the far side difficult to read. If lettering remains soft across a properly lit region, use the focus and exposure diagnostic to investigate that symptom separately.
Plan where you stand after each addition
Perform the actual writing movement while the camera records. Then step to the position from which you will explain the result. Check both moments. Your shoulder may cover a label while you write, which can be acceptable if you reveal it clearly afterward. It becomes a problem when the explanation continues while the necessary label stays behind your body.
Choose a comfortable reveal position for each part of the board. A small floor reference outside the picture can help you return there, provided it does not create an obstacle. Keep the writing hand, pointing gesture and reading notes out of the completed relationship when you describe it. You do not need to freeze beside the board; you need an identifiable moment when the viewer can inspect what the sentence refers to.
Work through a hypothetical three-box diagram
Imagine an ordinary lesson about sorting paper materials. The proposed board has three boxes labeled Collect, Sort and Store, with arrows connecting them. A small note under Sort says “separate blank sheets.” This is a hypothetical production example, not a filmed test or a claim about a proven organizing method. The small note is the hardest text and belongs in the first lettering check.
Suppose the proposed sample would show a bright patch across Store and your shoulder across the second arrow. Those are two different repairs: compare the light arrangement for the bright patch, and change the reveal position for the arrow. Making the title larger addresses neither failure. Once the arrangement is workable, write Collect, reveal it, then add Sort and the connecting arrow before explaining their relationship.
The spoken line could say: “The first box is Collect. The arrow leads to Sort, where we separate blank sheets. The next arrow leads to Store.” Naming the visible parts means the explanation does not depend entirely on pointing. W3C’s description guidance includes essential displayed text among information to communicate in audio. Apply that principle to the meaningful labels rather than reading every incidental marker stroke.
Check each board state before erasing
List the diagram states your explanation needs: first box, first connection, completed route and any changed example. Before erasing, save a clear view of the current state with your body out of its way. If a later replacement line needs the earlier diagram, you then have a reference for recreating it. Keep the original explanation and any repeated illustration identifiable in your notes.
If the lesson requires an exercise, the one-task course lesson guide helps define what a learner should do with the diagram. Keep that teaching decision separate from this capture check. A readable board establishes that the marks can be seen; it does not establish that the labels or sequence make sense.
Inspect the exported explanation before packing away
Review the finished version, including any crop or layout change made in your editor. Check the smallest label, both ends of each arrow, the reveal after writing and the last complete board state. Listen while looking away from the picture and note any essential relationship expressed only as “this goes here.” Replace that vague reference with the relevant names in a complete sentence.
Keep a setup note with the active writing area, marker, lettering sample, light arrangement and reveal positions. Repeat the check when the camera or final layout changes. EasyLines is preparing to launch as a teleprompter and recorder. Join the waitlist for launch updates if prepared spoken explanations suit your workflow; this board plan remains part of your own filming preparation.
Frequently asked questions
How large should my whiteboard writing be?
Write the smallest important label, save a sample and inspect it at the intended viewing size. Increase lettering or reduce the board area until the actual label is readable.
Should I film from an angle to avoid glare?
Compare it, but check the far side and corner labels too. A reflection repair is useful only if the required writing stays readable.
Can I judge the board from the camera preview?
Use the preview to arrange it, then inspect the saved file and the final exported layout. Your position and attention are different while writing.
Do I have to show every letter being written?
Show the writing process when it explains the decision. Otherwise a clear completed state and an honest transition may be enough.
What should I check before erasing?
Capture the board state without your body hiding the important relationship, and keep a reference if a later replacement may need it.
Sources and further checks
Coming to iPhone and iPad
Put your next script on EasyLines.
A little help with the words. More room to be yourself. Join the waitlist and we’ll email you at launch.