Film a hands-only tutorial viewers can follow
Plan a hands-only tutorial around the contact points viewers need to see, then check hand paths, orientation and the complete action.
 EasyLines team8 min read
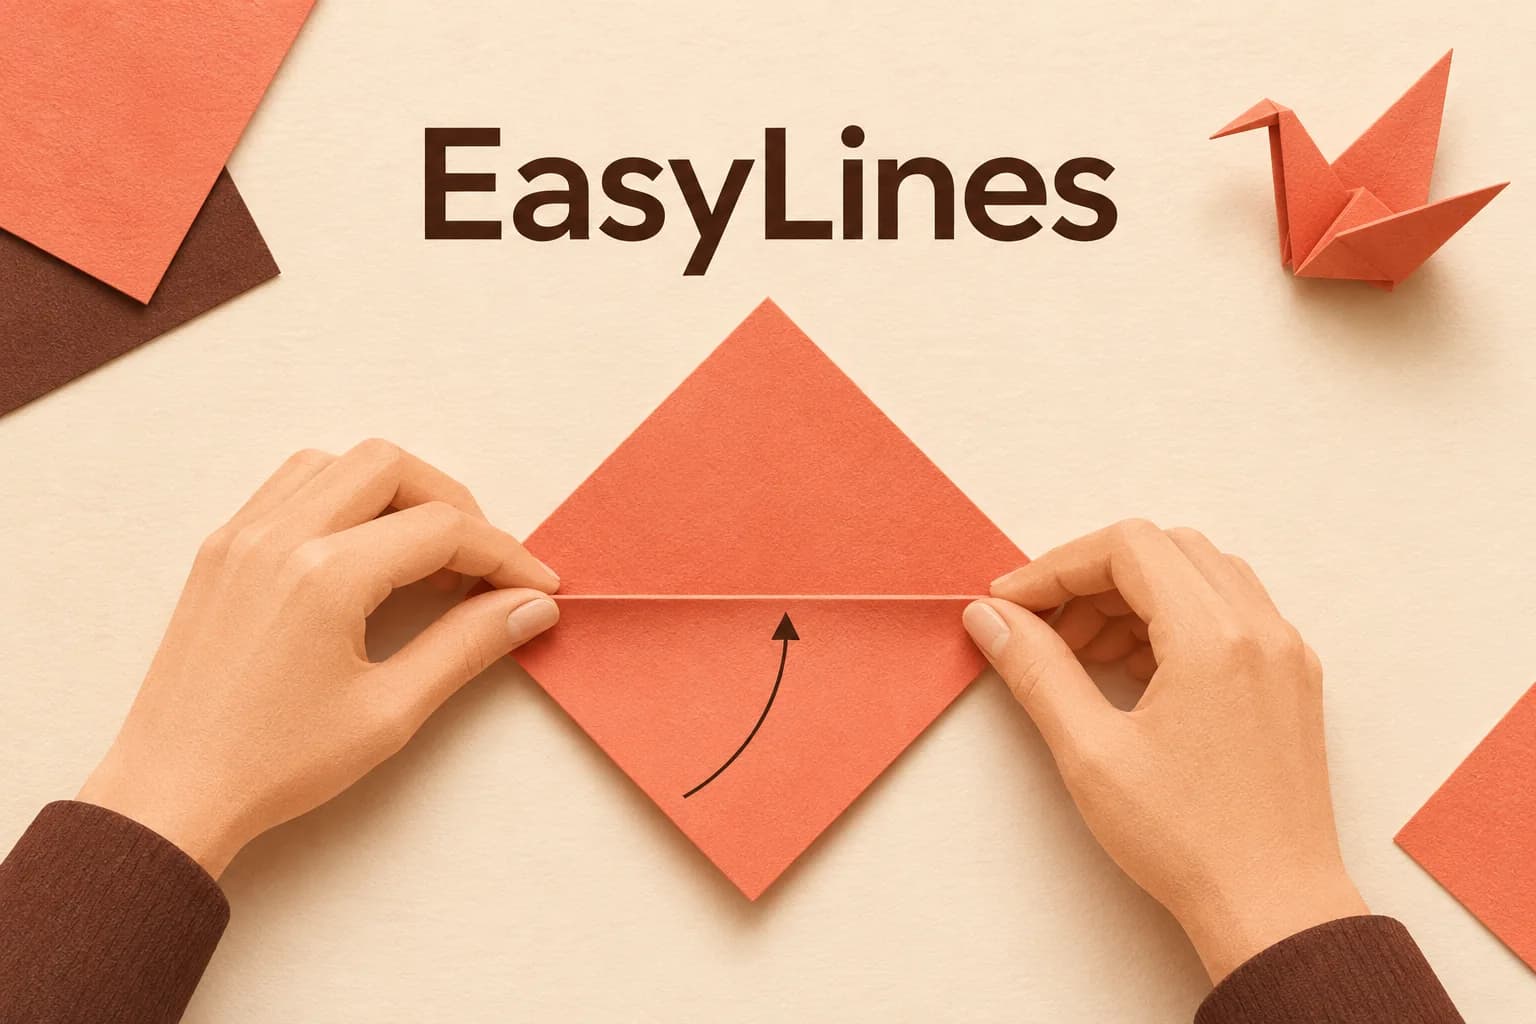
AI-generated editorial illustration.
On this page 8 sections
- 1. Name the moment the viewer must see
- 2. Compare overhead and angled views for the action
- 3. Give each hand a route through the picture
- 4. Preserve the orientation someone will follow
- 5. Record a view, failure and repair comparison
- 6. Recognize when a connected detail is necessary
- 7. Keep the teaching constraint with the recording
- 8. Frequently asked questions
Film a hands-only tutorial by diagnosing which relationship a hand hides: an alignment, the first contact or the final result. Keep the object orientation fixed while comparing specific grips and views. If a necessary grip always blocks the contact, plan a connected detail view instead of asking the viewer to infer it from the finished object. The labelled-corner diagnostic below is a hypothetical planning exercise you can apply to an ordinary low-risk task.
Name the moment the viewer must see
Write the smallest visible action that makes the step understandable. For a paper-folding explanation, it might be one edge meeting another before you press the crease. “Show my hands folding paper” is too broad to guide the camera. “Show both corners aligned before pressing” identifies the relationship the viewer needs. That becomes your acceptance question when comparing possible views.
Choose a low-risk task you can perform comfortably while recording. Put the starting materials and finished example nearby, with a clear distinction between them. If a stage cannot be undone, prepare a spare before the main recording. You need a way to try the camera arrangement without consuming the only example. The suggestions here are an authored preparation method, not results from a filming test.
Compare overhead and angled views for the action
Start with general support and viewpoint guidance, then move to the particular hidden relationship. Ulanzi’s craft tutorial guidance already recommends considering flat versus depth-dependent work, hand paths and a movement sample. Those are useful foundations. The diagnostic here adds a controlled comparison: retain the same marked object, identify exactly what each view fails to show, and decide whether another grip can reveal it at all.
For the hypothetical paper example, place a rectangular sheet with its long edges across the picture. Put removable practice marks A at the far-left corner, B at far right, C at near left and D at near right. The viewer sees the same arrangement as the demonstrator. The fold brings the near edge toward the far edge, matching C with A and D with B. These marks are rehearsal references, not extra spoken instructions or a promise that an unmarked final tutorial needs four labels.
Give each hand a route through the picture
Compare two concrete grips without rotating the paper or changing the camera. In grip one, thumbs rest over the corner pairs as the near edge meets the far edge. From directly above, the viewer can see a folded sheet but cannot distinguish whether C actually meets A or stops short beneath the thumb. The precise failure is hidden alignment, not a generally untidy picture. Moving the camera closer would enlarge the thumb along with the missing relationship.
In grip two, support the raised near edge along its side margins, below C and D, with fingers outside the corner meeting points. Bring it toward the far edge, hold the alignment briefly and then press the fold. From overhead, ask whether both pairs and the small surrounding edge are visible before pressure. This proposed grip may not work with your actual paper or dexterity. If the sheet slips, record that failure rather than accepting visibility at the expense of a demonstrable action.
Only then compare a slightly oblique view while using the workable grip. It may reveal a gap between layers, but one hand can hide the far pair. Keep the corner marks in their established screen positions so the comparison isolates viewpoint. Choose the arrangement that reveals the decision and supports ordinary movement. Secure the device and keep the support clear of the required reach; this diagnostic is not a rig-building or equipment-buying guide.
Preserve the orientation someone will follow
Decide which edge is nearest you and which edge the viewer should treat as the top of the example. Keep that relationship stable while explaining the step. If you turn the work, show the turn rather than letting the next view begin with an unexplained new orientation. A small removable reference mark on your practice surface can help you return the material to its intended position between attempts.
Check any directional language against the recorded picture. “Move the left corner” becomes difficult to interpret if you rotate the page halfway through. Prefer naming a visible feature when that is clearer, such as the marked corner or folded edge. Keep production directions separate from the words you plan to say. Do not flip a clip merely to make the composition feel familiar without checking what happens to writing and direction.
Record a view, failure and repair comparison
Use a short comparison record instead of declaring one view best. The following entries describe hypothetical outcomes, not recorded results. Each entry names view, grip, hidden relationship, next repair and acceptance. Write your own observed result in the final field when you perform the check. If neither arrangement works, leave it unresolved rather than filling the acceptance field with the result you hoped to obtain.
The overhead corner-covering grip fails because both alignment pairs disappear. The side-margin grip is a candidate repair only if the corners stay visible and the sheet remains controllable. The angled alternative needs separate inspection of the far pair: a clear near pair does not prove both ends match. This is more specific than a shot inventory, which can list a folding close-up without establishing whether that view explains the alignment.
Hypothetical comparison, not test results: Overhead / thumbs over corners / C-to-A and D-to-B hidden / move support below corners / accept only if both pairs visible before pressing. Overhead / side-margin support / paper slips before contact / try a controllable grip or different view / do not accept a staged still that cannot be performed. Oblique / side-margin support / far pair hidden by hand / compare opposite camera side while retaining orientation reference / accept only when both needed relationships can be followed. Any view / necessary grip hides contact / grip change cannot solve it / add a connected detail view / establish the same piece, contact and result.
Recognize when a connected detail is necessary
Consider a second hypothetical low-risk task: placing a stiff practice card into a narrow slot in a cardboard holder. The overhead view shows the card outline, but not whether its lower edge has entered the slot or is resting in front of it. Unlike the fold, this decision depends on depth. An oblique view can expose the entrance; however, the fingers required to support the card may still hide the exact insertion. Removing the supporting hand would change the action you are trying to teach.
In that failure case, retain the complete establishing action and add a connected close view from a side that reveals the slot entrance. Give the holder a harmless reference dot so its orientation is identifiable in both views. Begin the detail before the card enters, show the actual entry and continue until the card is seated. If you record a repeat on a practice holder, keep its orientation and stage consistent and identify the repeat where that distinction matters. A later view of the seated card alone cannot establish how it entered.
Review the complete proposed sequence silently. Can someone identify the same card and holder, see the entry rather than merely the result, and understand any change of viewpoint? Then review with the explanation and check that “into the slot” occurs while entry is visible. This is an occlusion acceptance check; it does not decide narration order or plan every supporting shot. The UGC shot list can inventory missing coverage after you have identified the particular relationship that needs another view.
Keep the teaching constraint with the recording
Leave a short note identifying the chosen view and the detail that must survive the edit: “Both corners visible before pressing; keep the reveal after hands withdraw.” That instruction is more useful than “use the overhead clip.” Include the actual take identifier and note any stage that was demonstrated on a spare. An editor should be able to preserve the physical sequence without guessing which movement carried the instruction.
For a vertical destination, apply the separate framing safe-zone check after the action is readable. Room within the camera frame and room around platform controls are different checks. EasyLines is preparing to launch as a teleprompter and recorder. Join the waitlist if prepared spoken lines would help your introduction or explanation, and keep the hand-action plan beside your production notes.
Frequently asked questions
Must a hands-only tutorial be filmed directly overhead?
No. Compare the view that shows the important relationship. A side or angled view may explain depth better than a top view.
What if my fingers cover the important detail?
Identify exactly what is hidden, then compare a specific grip with the same object orientation. If the grip is necessary and contact remains hidden, use a connected detail view that shows the contact and result.
Should I show the whole table?
Include the work and the movement needed for the step. Extra tabletop only helps when it explains the arrangement.
Can I rotate the object during the demonstration?
Yes. Show the rotation and re-establish the meaningful edge or feature so viewers can follow the change.
What is the final visibility check?
Watch the complete saved step without sound, then with the explanation. Confirm the contact and result are visible when they matter.
Sources and further checks
Coming to iPhone and iPad
Put your next script on EasyLines.
A little help with the words. More room to be yourself. Join the waitlist and we’ll email you at launch.