Front or rear camera for a solo scripted video?
Pick a front or rear camera for solo scripted video by checking framing, reading position and saved footage with the same short rehearsal.
 EasyLines team6 min read
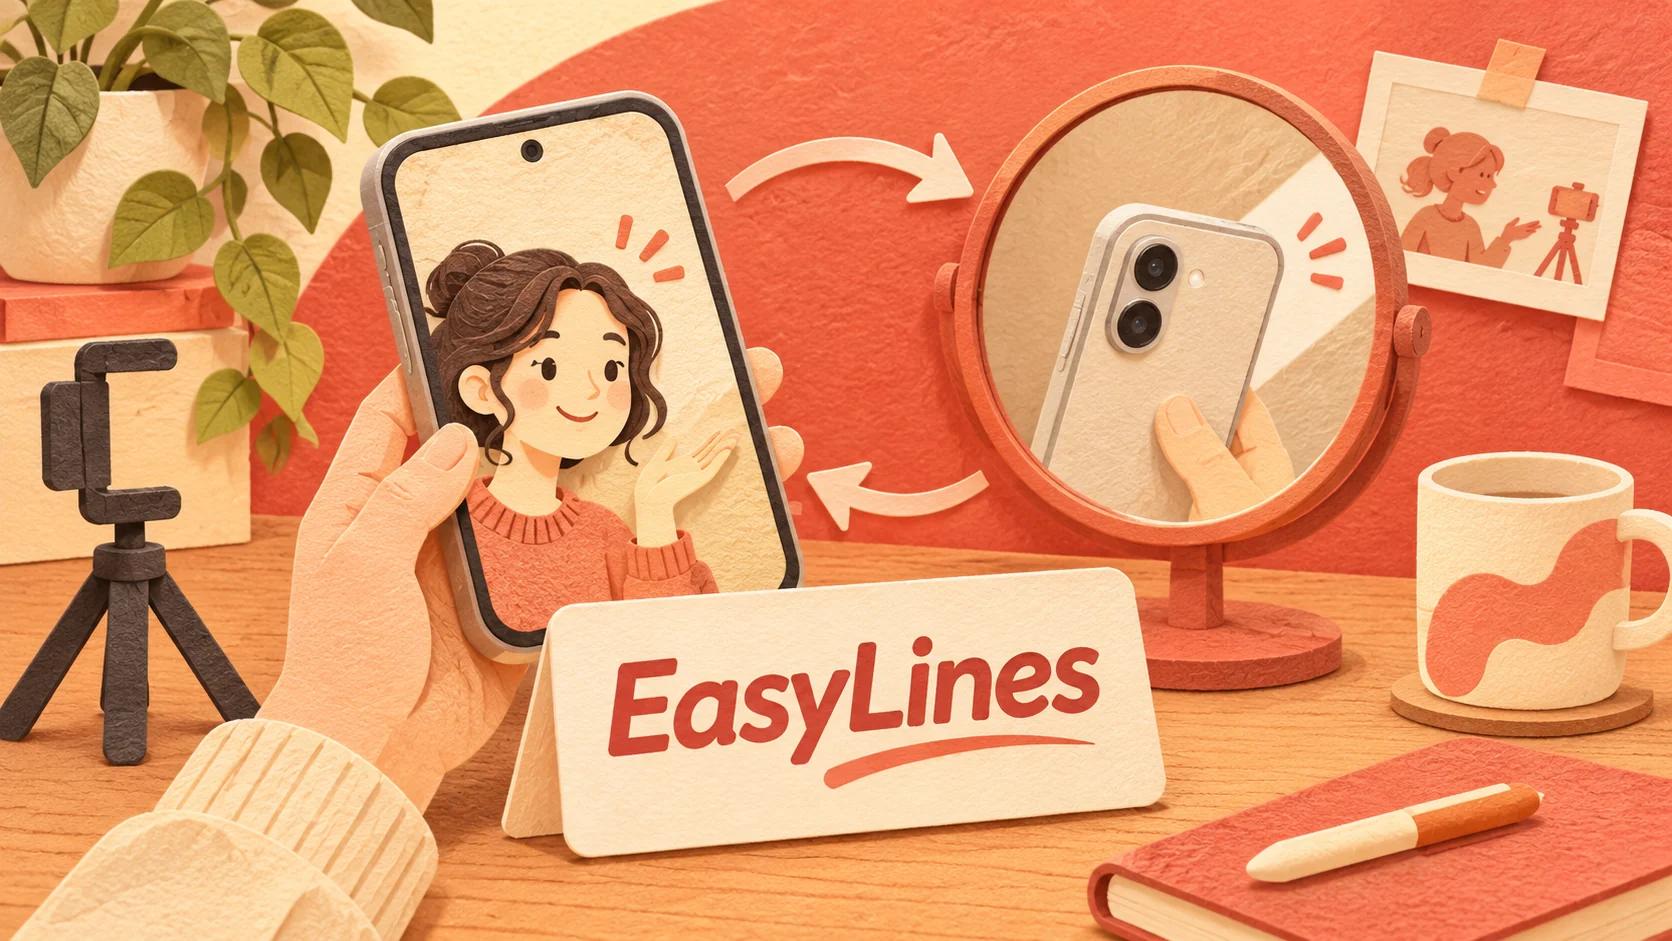
AI-generated editorial illustration.
On this page 7 sections
Use the front camera for solo scripted video when seeing your framing makes the recording manageable; use the rear camera when its actual saved result better meets the project and you can verify framing without a live self-view. Compare both with the same script and lighting, then choose the complete workable setup rather than a camera specification alone.
What matters beyond camera specifications?
The best camera choice is the one that produces a usable take while allowing you to operate the session alone. Image detail matters, but so do framing, reading position, sound and the ability to notice a failed setup.
A creator filming a short introduction may value an easy self-view. A creator showing fine product detail may prioritize the result from a particular lens and accept a more involved framing check. These are examples of different needs, not promises that one camera will always produce a better picture.
Write the requirements before comparing: the face must be framed comfortably, the product label must be readable if relevant, speech must be clear and the script must remain easy to follow. If one setup meets every requirement and the other makes you guess whether you are in frame, the specification sheet should not override that practical evidence. Evaluate the complete arrangement you will actually record with.
How do you make a matched camera test?
Record one short passage with each camera in the same lighting and with the same intended framing. Reposition the phone safely as needed, then inspect the saved clips rather than judging only the preview.
Use a passage that includes a normal gesture and any object the audience must see. Make the two takes equally rehearsed. If the second sounds smoother simply because you know the wording better, repeat the first before drawing a conclusion.
Compare the files at a useful viewing size and through the delivery route you expect to use. Check sharpness where it matters, brightness on the face, visible action and understandable sound. Avoid declaring a universal winner from one room or one phone. The Apple iPhone recording guide is a primary reference for the Camera app; verify your exact device and recording application's available controls rather than assuming all cameras share identical options.
| Decision row | Front camera | Rear camera |
|---|---|---|
| Monitoring question | Can you use the self-view comfortably? | How will you verify framing? |
| Script question | Can the reading copy sit near the active lens? | Where will the readable script be? |
| Result check | Inspect the saved clip, not only the preview | Inspect the saved clip, not only specifications |
| Choose when | The full setup meets the deliverable | The full setup meets the deliverable |
How can you verify rear-camera framing alone?
Use a repeatable position and a short recorded framing check. Establish where you and the important object will be, record a few seconds, then inspect that file before committing to the full script.
A floor or desk reference can help you return to the checked position, provided it does not create a trip hazard or obscure the demonstration. Rehearse the actual movement rather than standing perfectly still for a test that the real take will not match.
If another monitoring method is part of your setup, verify its real compatibility and whether it shows the picture you need. This article does not assume a particular remote display or second-device feature exists in your recorder. When you cannot reliably check framing, simplify the arrangement or use the front camera if it meets the deliverable. Knowing that the necessary action is visible is more useful than choosing a lens whose result you cannot safely and consistently frame.
Where does the script go with each camera?
Place the reading copy where it is legible and as close to the active lens as your setup allows. Switching cameras changes which side of the phone faces you, so the same phone-screen prompting arrangement may no longer work.
Before choosing the rear camera, explain how you will read. A separate script display beside the lens, a hardware arrangement or a short memorized section may be possible in some workflows, but each needs its own practical check. Do not assume that a front-screen script remains visible when the phone is turned around.
Use the natural teleprompter reading guide to compare eye movement and comfort. If an arrangement produces a sharp picture but forces constant glances away from the lens, decide whether that tradeoff suits the video. A product demonstration can tolerate different eye direction from a direct-to-camera introduction. The task determines what is acceptable.
What should the saved-video review include?
Review the recording for framing, orientation, sound and the details essential to the task. A comfortable preview does not establish that the saved result has the orientation or composition you expected.
If readable text appears reversed, separate preview behavior from the exported file using the mirrored-text diagnostic. Do not change multiple orientation controls at once. Make a small test with an ordinary readable label and inspect the final file through the real delivery route.
For the overall arrangement, revisit the first talking-head setup guide. The camera decision here is narrower: which lens and monitoring method let you complete this particular solo recording? Keep a note of a failure such as “hand covers label when demonstrating” rather than concluding that every rear-camera or front-camera setup will have the same problem. Change the smallest relevant part and retest.
How do you choose for a real session?
Choose the setup that meets the requirements and can be repeated without guesswork. Save a reference frame and a short note describing the active camera, phone position, subject position and script location.
Repeat the brief framing check when the room, phone, orientation or demonstration changes. Do not rely on the last session's position if the field of view or object has changed. For a time-sensitive project, prefer a verified workable arrangement over an unfamiliar setup that only looks promising on paper.
EasyLines is preparing to launch and focuses on reading scripts and recording delivery. This guide does not promise particular camera combinations, remote monitoring or rear-camera prompting features in the app. Confirm actual launch capabilities before planning around them. Join the EasyLines waitlist for availability information, and use the camera workflow you can verify today for current recordings.
Frequently asked questions
Is the rear camera always better for solo video?
No. Compare the actual saved result and your ability to frame, read and operate the session.
Can I judge image quality from the preview?
Inspect a saved test clip through the intended delivery route. The preview alone is not the complete deliverable.
What is the main rear-camera prompting problem?
The phone screen may face away from you. Plan and verify where the reading copy will be.
Does this guide promise remote monitoring in EasyLines?
No. It describes a general decision method and makes no such feature claim.
Sources and further checks
Coming to iPhone and iPad
Put your next script on EasyLines.
A little help with the words. More room to be yourself. Join the waitlist and we’ll email you at launch.