Show product size without misleading perspective
Show dimensions, a fair scale reference and a real fit check. Keep camera distance and framing from creating a misleading impression of product size.
 EasyLines team7 min read
AI-generated editorial illustration.
On this page 8 sections
- 1. Which size question does the viewer need answered?
- 2. How do you show measurement endpoints?
- 3. What makes a useful scale reference?
- 4. Why can a reference still mislead?
- 5. How do you demonstrate actual fit?
- 6. What should each view explain?
- 7. How do you check the saved size demonstration?
- 8. Frequently asked questions
Show product size in a video with three complementary views: a measured dimension, a contextual reference at a comparable distance from the camera, and an actual fit demonstration when fit matters. Explain which question each view answers. A close-up can reveal detail while giving a poor sense of scale. Keep the product and reference relationship intact instead of expecting a dramatic angle to communicate accurate dimensions.
Which size question does the viewer need answered?
Begin with a decision such as whether a small storage basket fits a particular shelf or can hold a rolled towel. These questions involve different measurements. Shelf fit may depend on the basket’s largest outside width, including handles or rim. Holding an object depends on the usable opening and interior. Write the relevant dimension before setting up the camera so a neat top view does not answer the wrong question.
The basket and towel throughout this article are hypothetical ordinary props, not products measured or tested by EasyLines. There is no standard towel size assumed here. If your actual video needs exact clearance, measure the real basket and destination. A visual comparison can orient someone but cannot establish that their shelf, drawer or belongings share the dimensions of your example. Keep that limit in the spoken explanation.
How do you show measurement endpoints?
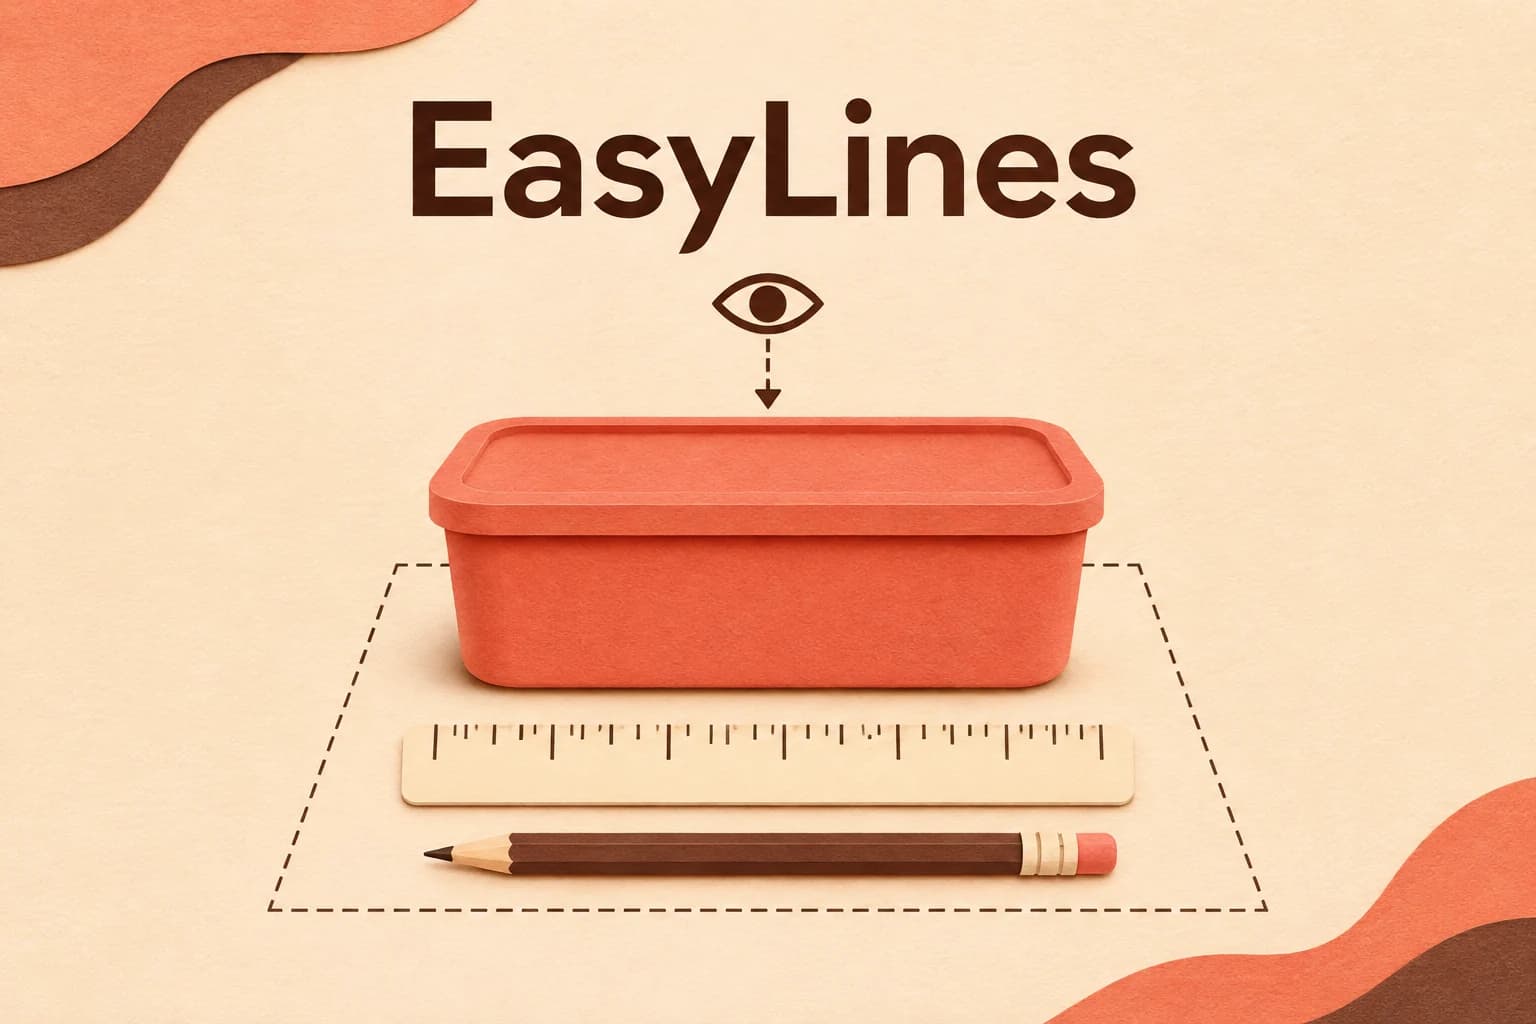
Place a readable ruler or tape beside the dimension you are describing, with its relevant zero and endpoint visible. Identify the unit aloud and keep the tool aligned with that dimension. Distinguish the measuring scale’s zero from the physical end of the tool, since they may not coincide. Use a view in which the viewer can inspect the endpoints without needing to infer where the hidden edge lies.
For invented practice values, an outer rim might measure twenty centimetres across while the usable opening is eighteen centimetres. Those numbers illustrate two different quantities; they are not a real specification. A line saying “twenty centimetres of usable room” would not follow from the outside measurement. If an actual endpoint is hidden, change the view or explain the measurement separately instead of placing a precise-looking number over ambiguous footage.
What makes a useful scale reference?
Choose a contextual object you can identify, then say what it contributes. A hand can show how somebody holds the basket, but hands vary. A mug can help explain ordinary tabletop use, but mugs have different sizes. A ruler with readable units supports a more specific scale judgment. You can combine human context with measurements rather than requiring one familiar-looking object to establish an exact dimension.
Keep the meaningful product and reference features at similar depths for the comparison. In an overhead view, lay their relevant outlines on the same flat surface when practical. In a front view, compare corresponding faces rather than putting the reference far behind the product. This is a proposed arrangement to reduce an avoidable ambiguity, not a calibration method. A tall three-dimensional object still has front and back surfaces at different distances.
Why can a reference still mislead?
Fujifilm’s explanation of perspective identifies real object size, distance from the lens and angle of view as factors in apparent image size. That is why simply including a reference somewhere in the picture is insufficient. In a hypothetical low-angle view, a small object close to the camera can occupy more of the picture than a larger basket farther back. The objects have not changed dimensions.
Try a proposed comparison before the real take: place your reference beside the basket, record that relationship, then move only the reference toward the lens. Inspect how the picture’s size relationship changes. Do not label the second arrangement a scale comparison. Restore the useful position for the final recording. This exercise explains the failure mode; it is not a report that we performed a camera test or a reason to buy a different lens.
How do you demonstrate actual fit?
For the hypothetical towel example, establish the empty basket and the actual rolled towel before placing it inside. Show the passage through the opening and the final position. If you compress or refold the towel, make that visible and describe it. “Fits without changing the roll” is a different claim from “fits after folding it smaller.” Neither can be inferred solely from a final close-up of fabric inside the basket.
Separate placement from usable clearance. A towel resting above the rim may be acceptable for open storage but would not prove a lid closes. Likewise, a basket placed partly onto a shelf does not show that it sits completely within the available depth. Choose the finish condition that matches your opening question. Use ordinary gentle handling and an accessible empty destination; this is a communication exercise, not a load or installation assessment.
What should each view explain?
Etsy’s photography guidance distinguishes a scale image, which communicates size, from a detail image, which reveals features. A video can preserve both jobs. Establish the overall object, show the relevant measurement, then move to any texture or mechanism detail. Returning to the contextual view can help prevent a close-up from becoming the only remembered size cue. Choose the sequence from this particular question.
A hypothetical spoken route could say: “This view shows the basket beside the ruler. The next measurement is across the outside rim; the opening is a separate measurement. Here is the rolled towel used in this example. Watch it enter without changing the roll, then look at where it finishes.” Replace these planning words with your actual verified measurements and observed fit. Do not read an expected success if the real demonstration differs.
Proposed size record: Outside dimension: name endpoints and units; note protruding rim or handle. Usable space: measure the relevant interior or opening separately. Reference view: identify object and depth relationship. Fit: same identified object, visible entry, stated finish condition. Unknown: other belongings or destinations not measured here.
How do you check the saved size demonstration?
Review the saved measurement at the intended viewing size. If the ruler is soft, use the focus and exposure diagnostic rather than enlarging unreadable numbers in your narration. Keep enough frame around the object to identify the endpoints. For a vertical destination, use the safe-zone framing guide so controls or planned text do not cover the rim, ruler or final fit.
Inspect any final crop or split layout made in your separate editor. Cropping the whole scene together preserves the internal relationship more faithfully than independently enlarging one cutout; either way, retain the actual measurement view. Save your dimensions, object identifiers and checked export with the script. EasyLines is preparing to launch as a teleprompter and recorder; join the waitlist for launch updates if prepared explanations suit your recording workflow. Scale and fit remain things you establish with the real objects.
For the wider recording plan, use the product video shot-list guide to place this decision inside a complete, useful video.
Frequently asked questions
Is holding the product enough to show its size?
It provides human context, but hands vary. Add verified dimensions when the decision needs exact size.
Should the reference sit behind the product?
Use comparable depths for the meaningful features where practical. A distant reference can create a misleading size relationship.
Are outside dimensions the same as usable space?
No. Identify the opening and interior separately when those determine fit.
Can a close-up serve as the scale view?
A close-up can show detail. Include a separate contextual or measured view so its magnification does not carry the size claim.
Does one fit demonstration prove all similar items fit?
No. Identify the actual object and its condition. Other sizes, folds and destinations require their own checks.
Sources and further checks
Coming to iPhone and iPad
Put your next script on EasyLines.
A little help with the words. More room to be yourself. Join the waitlist and we’ll email you at launch.